Do you use an appointment book, journal or diary for your daily planning?
From the time I started working in an office (last century!) to my current life as a freelance designer, I have used an assortment of calendar books, diaries, and executive planners to keep track of tasks and appointments.
Though I have updated to a hybrid of online and paper tools, my real daily work goes into the handmade paper book on my desk.
I have some tips and tricks for making a planner that exactly suits your purpose.
Store-bought planners
Traditional planners are not a good fit for the free-for-all that is my life. I don’t have a ton of appointments or meetings. I need space for lists and notes.
“Inspirational” sayings irritate me and famous quotations never quite hit the mark. I’d rather write my own than see someone else’s on the page.
And a lot of daybooks are just plain ugly and impersonal. Hideous colors, terrible fonts, trite clipart. Not my taste or style at all.
I love the idea of bullet journals. The creativity that goes into devising the pages and spreads is wonderful, but the reality is that are too bossy. They make me feel guilty. What if I forget to fill in the mood tracker for a week? How disappointed will I feel if I don’t read 52 books in the year?
Assess your needs
What works for you? What do you need in a planner? Here are some things to consider:
- Size & format: page size, orientation
- Binding: hand-bound, ring binder
- Calendars: yearly, monthly, weekly. What day does the week start on?
- Important dates: birthdays, holidays, moon phases
- Designated spaces: appointments, tasks, & notes
- Blank pages: for free writing and sketches
- Trackers: mood, health, goals
- Styling: decoration, quotes, covers
- Other bells & whistles: pockets, clasps, markers
Build your perfect planner
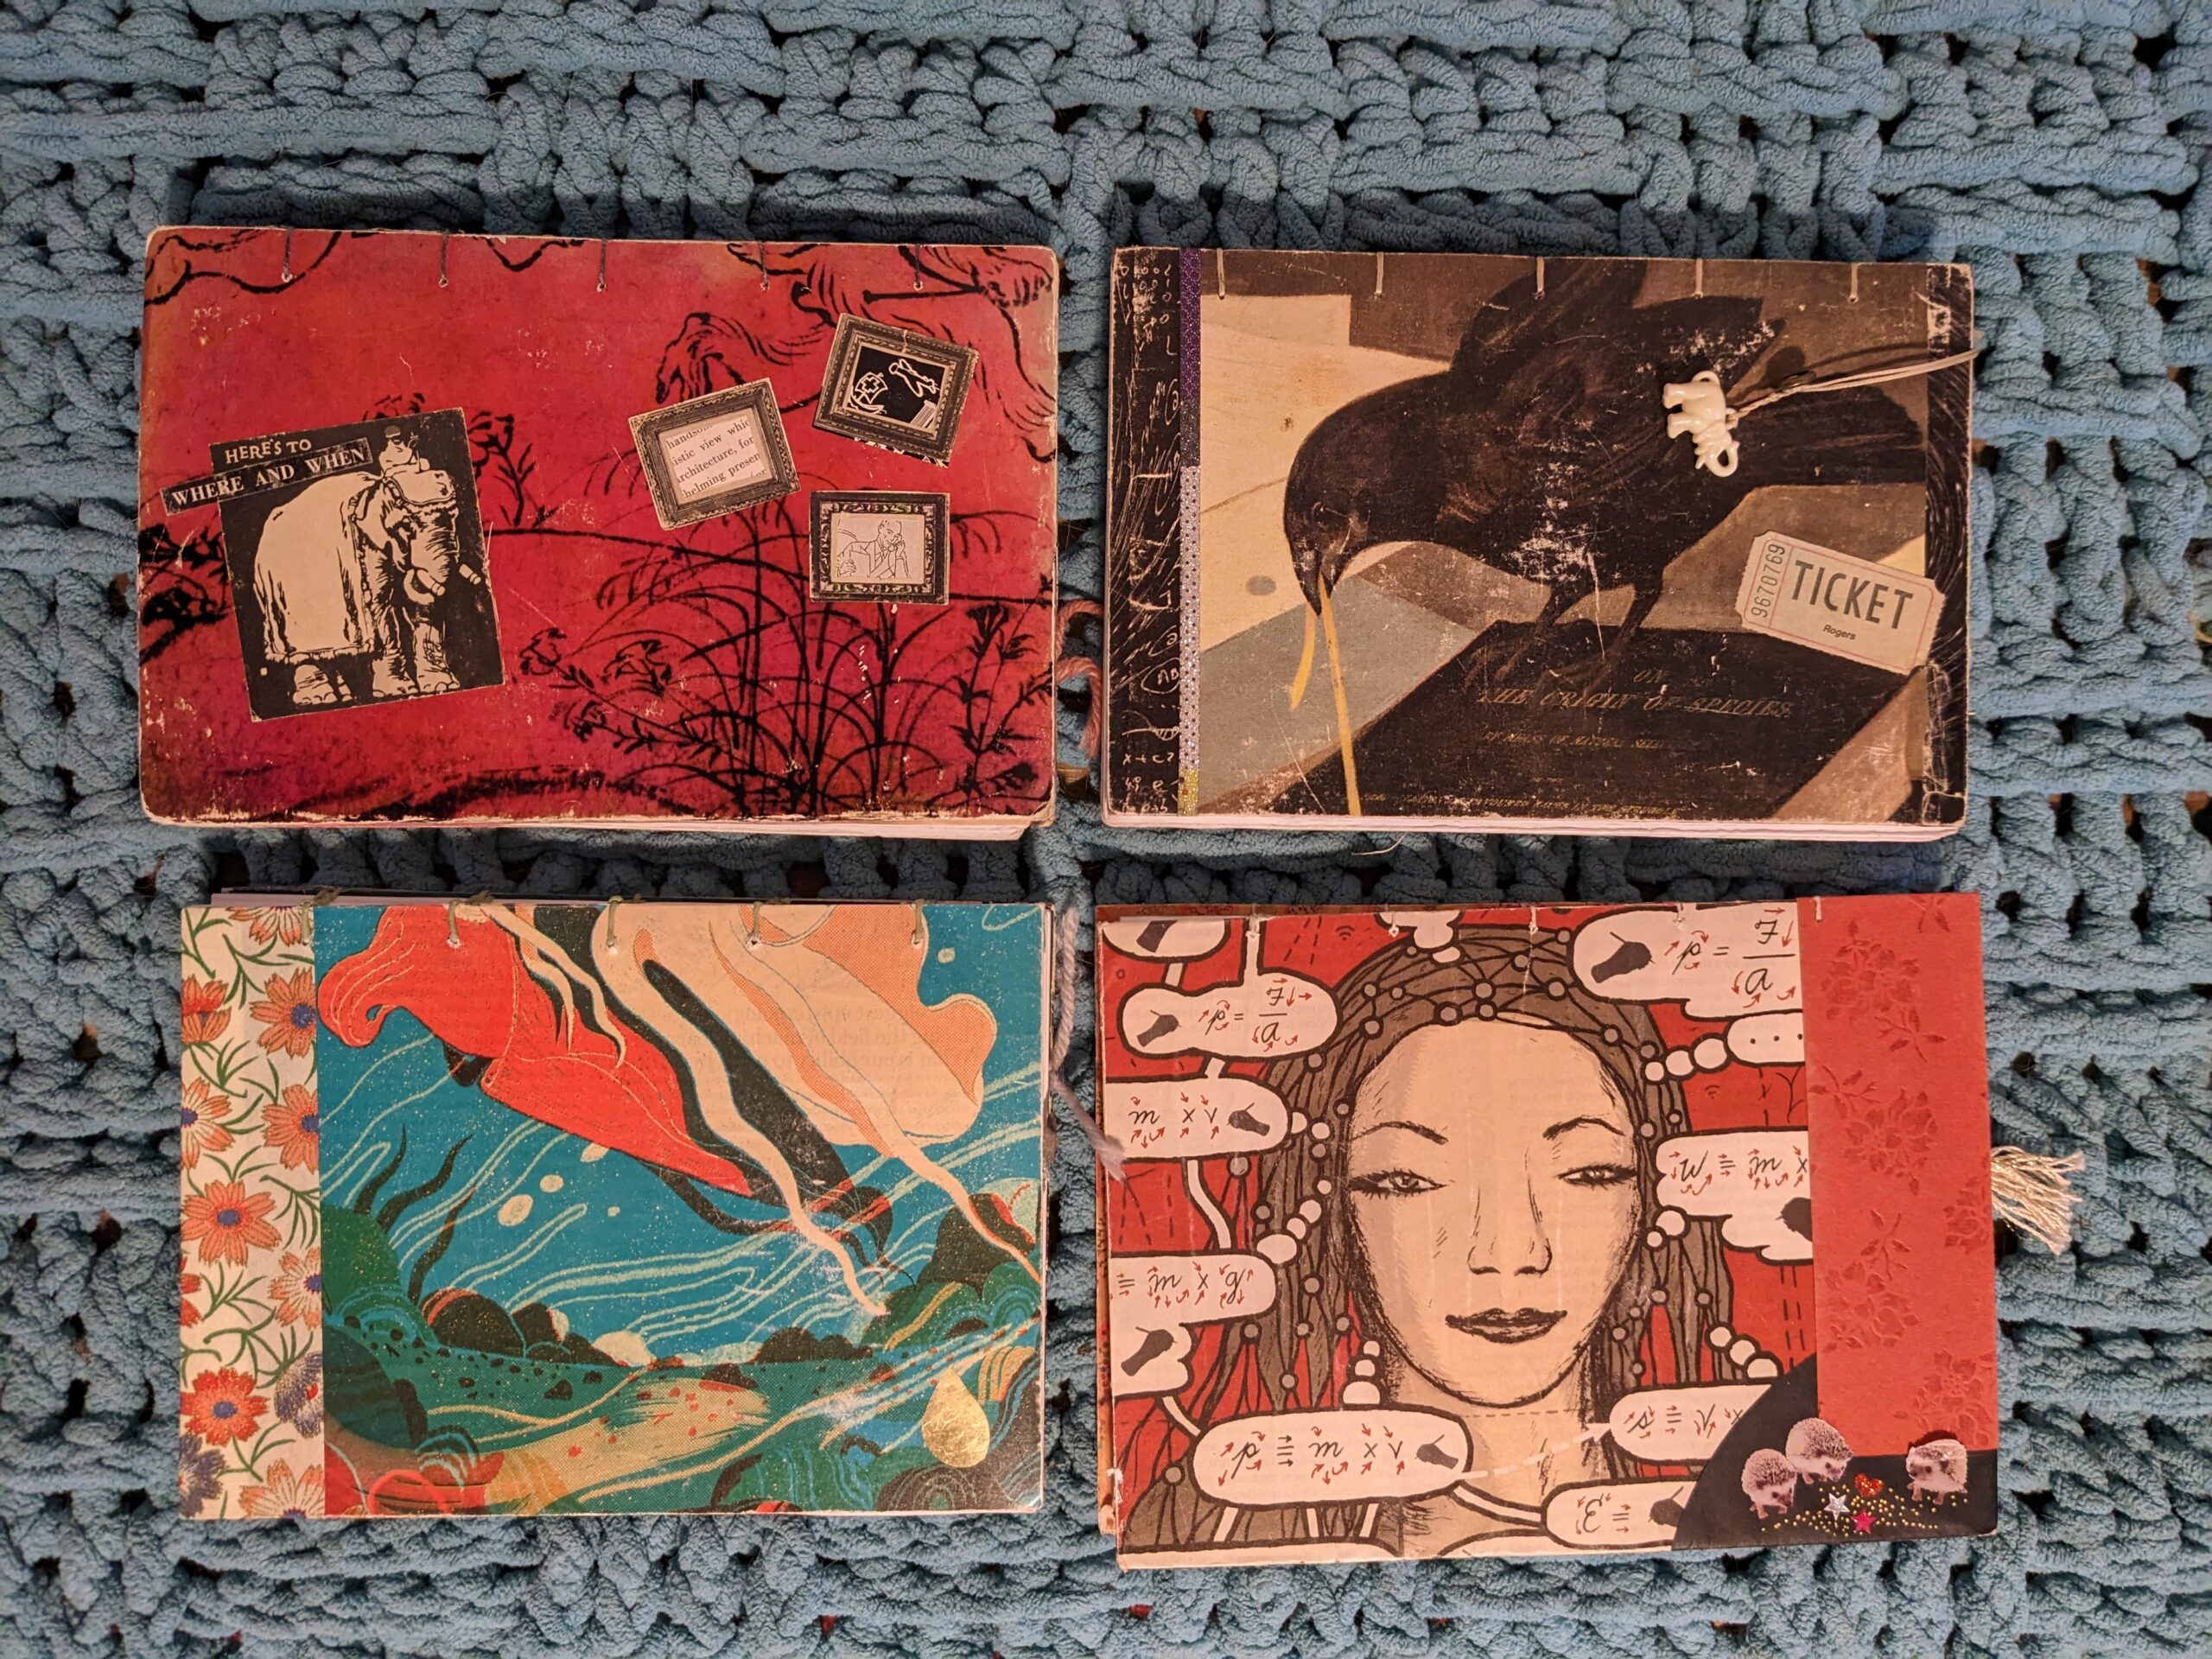
At the end of 2017, my sister and I set out to make our own. We had a long discussion about what we used and liked, what we wished for, what we didn’t need. We drew our weekly pages by hand, figured out how to paginate the section of monthly calendars, and spent a lot of time at the copy store getting everything sorted. And then we dived into her stash of art supplies to make collaged covers and finished by binding everything together with hand-stitching.
Was it perfect? Pretty close. My 2018 planner had a few too many aspirational “project pages” and goal setting sections. I rarely used them. So I refined and refined again. In my 2023 planner, I am down to weekly spreads and annual calendars.

These weekly spreads are perfect for me.
- All seven days fit on one page, starting on Monday, with an extra column in the upper right for weekly goals or other notes.
- The days of the week are pre-printed, but I write in the date by hand. This lets me use color to set a mood or highlight important dates.
- A small section for scheduled appointments. Colons define four appointment slots.
- A big blank space for to do items, lists, or notes for the day.
- Multi-purpose spaces at the very bottom of each day’s column. Sometimes I use it as a health diary, a one-word journal, or I draw a little picture.
Putting it together
The easiest way to make a planner is to design your pages as full sized sheets, then compile them into a ring binder. No stress! No need to think about how to organise the pages to make them print correctly. Easy to add pages or rearange them later. A binder is the smartest and simplest way. It works great.
Of course, that’s not how I do it. My planner involves a cat helper and a lot of playing with paper.

My process
- Design the pages.
- aka print the Weekly Spreads shared above
- Annual & monthly calendars can be printed from Time&Date.com
- Paginate. This means arranging the pages so that they print in the right orientation and the right order.
- Unfolded pages in a binder means no special pagination.
- Vertical binding (like a book) require attention to page order, but orientation is all the same.
- Horizontal binding (along the top, like mine) means managing page order and also orientation. Your files will have pages upside down.
- A little paper mock-up will help you get it right.
- Print/photocopy sufficient quantities. You need 52 weeks’ worth of weekly spreads. Your will photocopy double-sided to end up with 26 sheets, minimum. But…
- I print 28 sheets. This allows me to split them into four even groups for binding; it gives me a bonus week or so; and the year doesn’t always start on a Thursday.
- My files from step 1 above are oriented for horizontal binding and each file has 2 sheets (4 weeks). Print 14 copies, double sided, to get 28 sheets.
- Group the weekly pages together in 4 sets of 7 sheets. Group other sheets (monthly calendar, goal setting, blank paper, etc) into similar sized sets. These groups will be your signatures, or sections, in the finished daybook.
- Fold the sets in half, being sure to carefully align the pages. Use a bone folder or spoon to press the edge smooth and flat.
- Flip through the signatures and make sure the pages are in the right order and turned the right way up.
- If you have a cat, they may want to help by sitting on the pages.
- Prepare the covers. I cut a base from thin board, like a cereal box. They should be a bit bigger than the pages, but not too much; measure the folded signatures and add 5mm on each side, max. Then mark your board and cut two covers the same size.
- Decorate! Cover in fabric, paint, or collage. I collage mine using whatever meaningful things catch my fancy from magazines and my stationery stash. Sometimes the cat vetos my choices by sitting on them. Here are a couple of tips for the decorating:
- Wrap the edges of the outside covers (front and back) to the back of the board. This makes a nice neat edge.
- The inside covers are a little confusing when using a horizontal binding. The front inside cover is upside down to the front cover. The back inside cover is the same direction as the cover. I have messed this up so many times….
- You can glaze your work with glue or a clear finish, but since my book is on my desk 90% of the time, I don’t bother. If you are carrying yours in your bag, a clear finish will keep the collage from getting messed up.
- A paperclip makes a good bookmark if you add a tassel, bead or flap of paper. Very handy to quickly find the current week!
- Prepare for binding the book. You need a pencil, ruler, awl, large needle, and waxed cord or embroidery floss.
- Measure the center of the folded edge of one signature and make a dot. Decide where you want the lines of binding to be. Mark those places, then transfer the markings to all the folios by stacking them up and copying the dots.
- The more holes you make, the more secure the binding but the more you will need to sew.
- Minimum of three holes – 1 in the center and the others about 2 cm from each edge. I generally make five and space them evenly.
- Mark matching dots on your covers – the dots should be a little bit in from the top of the cover, maybe 5 mm (1/4″). Be sure they align with the dots on the signature or your cover will be crooked.
- Use the awl to pierce the signatures and covers on the dots you made. You are pre-drilling your folios and covers to make the binding easier to do.
- Unfold each signature (keep the pages aligned with a binder clip) and lay it on a cutting mat or other surface you don’t mind stabbing into.
- Do not let the cat help with this part, Even though sharp claws are similar to awls, cats are bad at alignment.
- Sew the folios and covers together. I use a coptic binding that creates a sturdy and decorative chain stitch. Here’s great tutorial that covers a lot of details and shows the whole process start to finish.