A couple weeks ago I took an online course, Creating Liquid Watercolors and Botanical Inks, that demonstrated a range of color extraction methods. Up until now, I had only worked with simmering and hot-steeping (the tea method) to get color. I got a beautiful dye from globe amaranth using my mortar and pestle. It was a lot of work and loud, but the color was rich and pink.
Yesterday I tried a much less intensive alcohol extraction. It worked pretty well. Here is what I did and what I learned in my alcohol experiments

How to Extract
- Gather your plant materials. You can use fresh or dried flowers, berries, leaves, roots, bark or whatever. Prepare them by removing dirt and any colors that will muddy your color. Keep the chlorophyl away from the anthocyanin! For example, I took off all the green bits from the pink flowers to avoid ending up with brown dye.
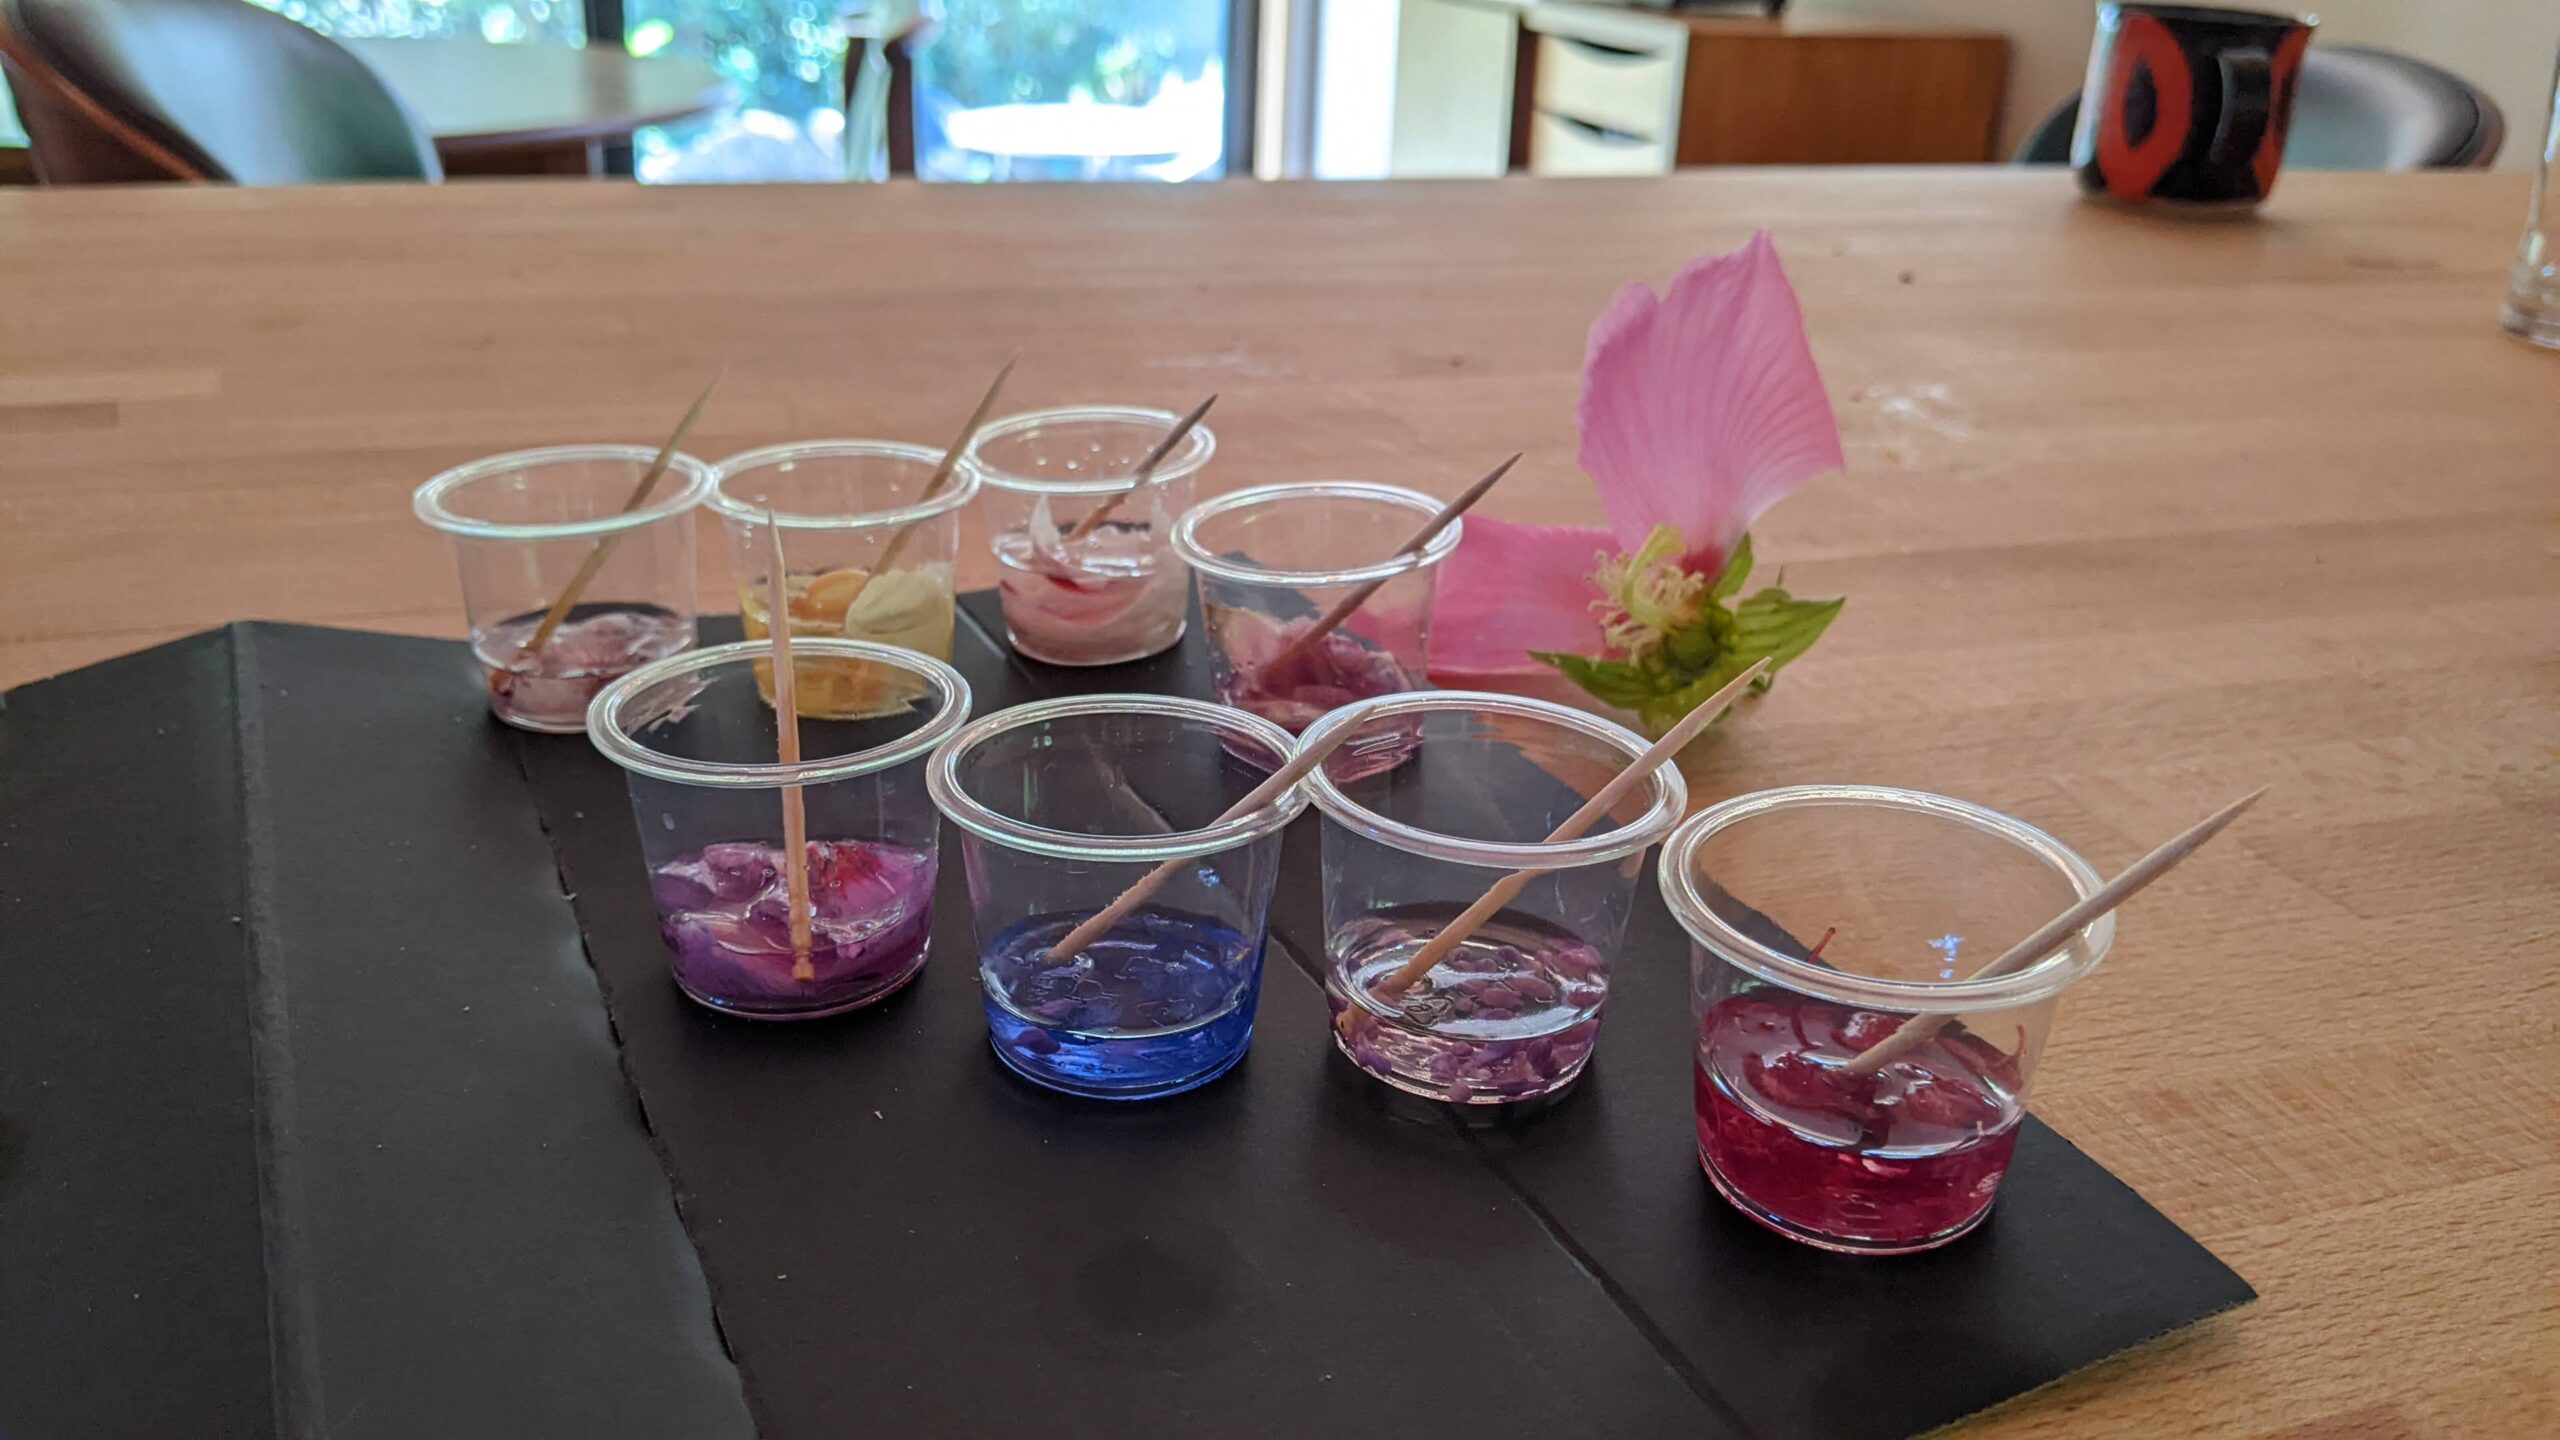
- Moisten with ethanol or isopropyl alcohol. I used ethanol (disinfectant rubbing alcohol) which is 70% strength; perhaps isopropyl at 100% concentration would extract more effectively. Too much liquid dilutes the color, so err on the side of too little – you can always add more. Make sure the material is submerged in the alcohol, remembering that it will shrink a bit as you smush it in the next step.
- Stir, bruise, or smush the material in the alcohol. Macerating the plants helps them to release their color. I used toothpicks in tiny sample cups which made macerating more of a stabbing than squishing. It wasn’t very efficient. If you have larger jars, a spoon works well. I used one toothpick per extraction to avoid cross contamination.
- Leave it alone for an hour or for weeks. Plants take different lengths of time to extract. Flowers go quickly; bark takes longer. Some will develop more the longer you let them sit. If you’re going to let them sit more than an hour or so, cover the container to reduce evaporation. I have a couple of jars of globe amaranth and cotton rose doing long-term extraction on my studio shelf.
- Strain the spent plant materials, squeezing them to get the last bits of color and save the colored alcohol in an airtight container. You can also leave the plants in the alcohol – they will not rot or mould, but they do get in the way a little bit later.


When you are satisfied that you have good color, make a swatch sheet to see them. They can look dramatically different when dry. Cotton rose looks pink but dries green. I did my swatches on watercolor paper and used cotton swabs as paintbrushes.
The course introduced a clever way to organise your notes and swatches – glued into a vintage hardcover book. It’s quite charming! You probably have your way of swatching and note-taking already but this has me thinking I might gather all my scattered notes and put them together. Don’t forget to label the swatches and date the page so you can check for fading and oxidation later. Botanical colors tend to fade, or turn brown and golden over time.
I made a mistake on this round – let’s call it a “learning” – when I left wooden stirring sticks in the alcohol baths for three hours. Of course, the wood absorbed the colored liquid so I had less volume than I expected and it was more dilute, too. Oops. I won’t do that again.
How to Use

Alcohol ink is what’s in Copic markers, so if you use those, you already know approximately how the botanical alcohols will work. Most of the colors I made this time were pale, so layering was necessary to get a richer tone. Since the alcohol dries quickly, layering was quick and effective.
I also played with chemical modifiers to change the colors. In the example above, the bright blue dots on magenta are geranium extraction with baking soda.
And when I shone my UV flashlight on the drawing, I learned that turmeric and onion skins are brightly reactive, and to a lesser degree, hops and roselle shift under UV.
Making and using these colors from the backyard garden is fun. I know I will be doing more experiments in the future. Each time, I learn something new – a skill, a technique, a caution, or a color. And then I get to use what I made!
Bonus Color Content


BLUE SALT from Asiatic Dayflowers
Pick the blue petals from some dayflowers. Cover with salt, then stir or shake to bruise the petals and combine. Allow to the color to extract for a couple of hours. Enjoy a fun accent color on your french fries, tempura, or margarita.