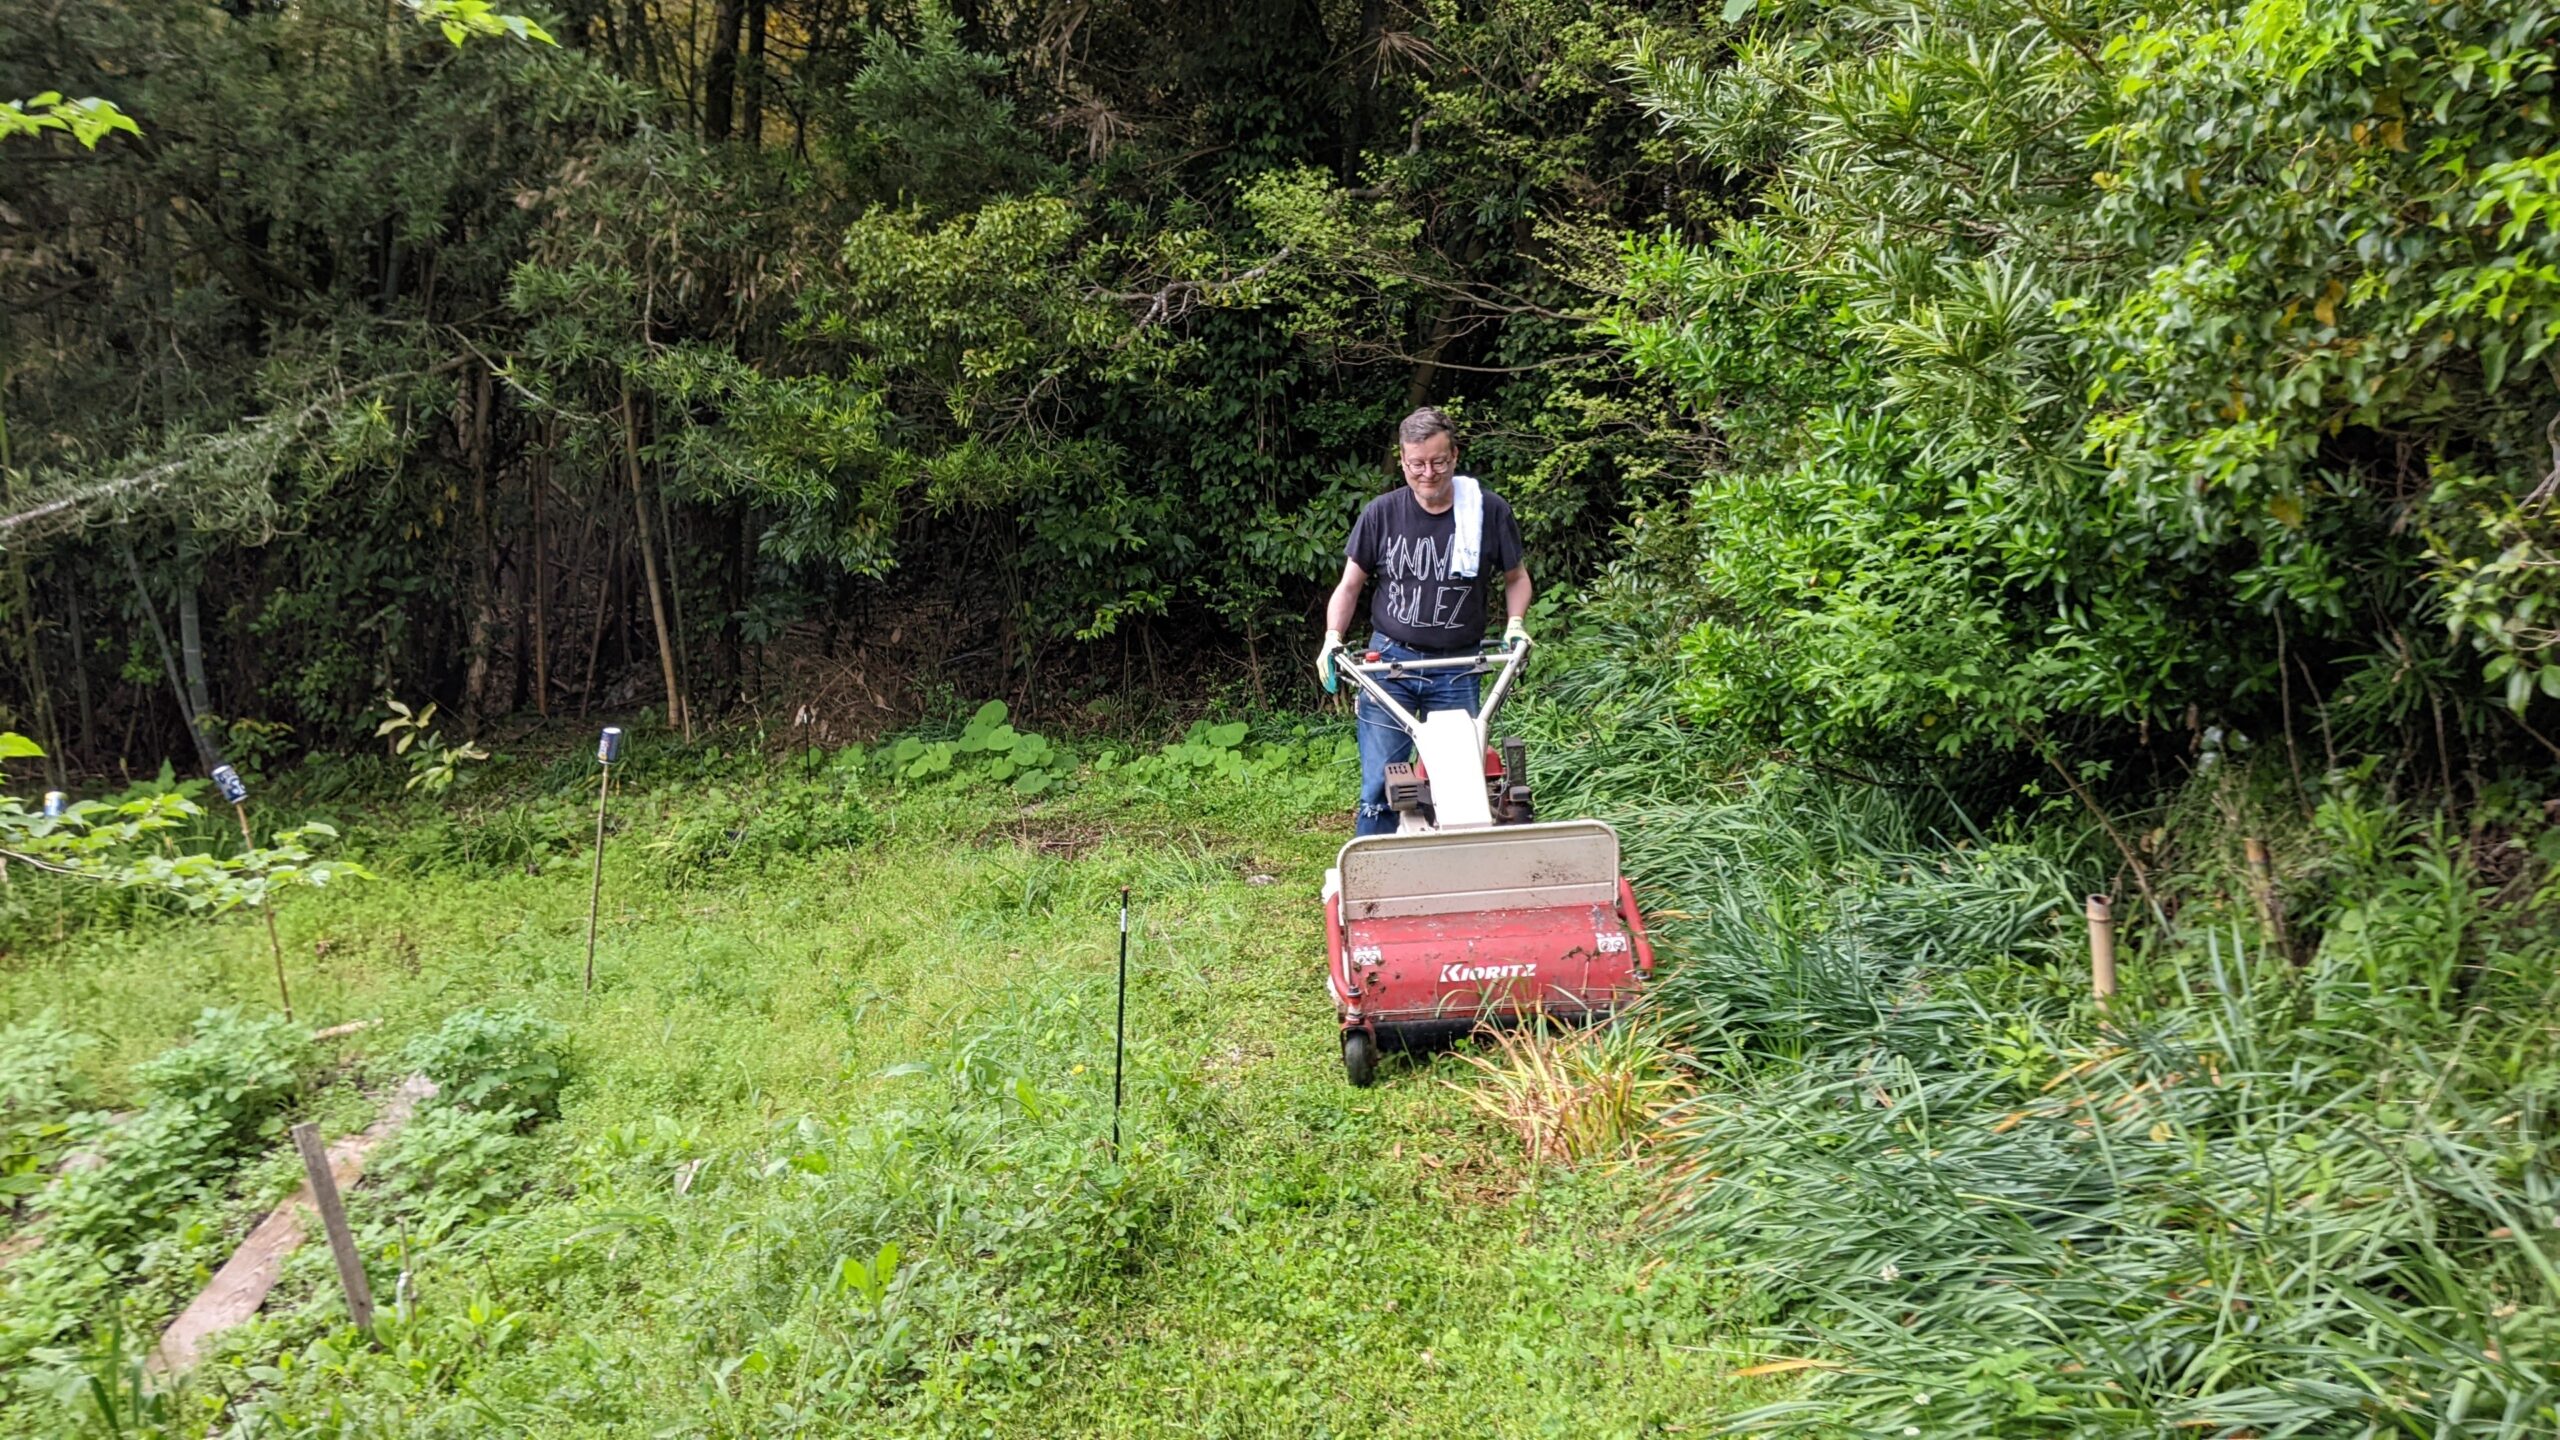
Surrounded by so many plants through the seasons here at 555, I decided to try my hand at making art supplies. It’s fun to experiment with the process of extracting color.
If you decide to try this – and especially if you are using unknown or inedible plants – please do it outside or in a well ventilated space with tolls (pans, spoons, strainers) you aren’t planning to use for cooking. Better safe than sorry.

How to Choose Material
Although there are plenty of historically known dye plants in Europe, like madder (whose roots make red), dyers chamomile (yellow), woad (blue), and weld (green), these are not native to my area. So reading English language books on botanical dyes can be a bit frustrating.
Fortunately, Japan’s got plenty of its own traditional botanical colors including indigo (blue), kakishibu (orange), mugwort (green), safflower* (red), silver grass (yellow-green), biwa leaf (brown), murasaki (purple) and turmeric (yellow). There are many colors from different tree barks and insects, too. The list of traditional Japanese colors is filled with plant references and sometimes those color names are the plant that produces the color.
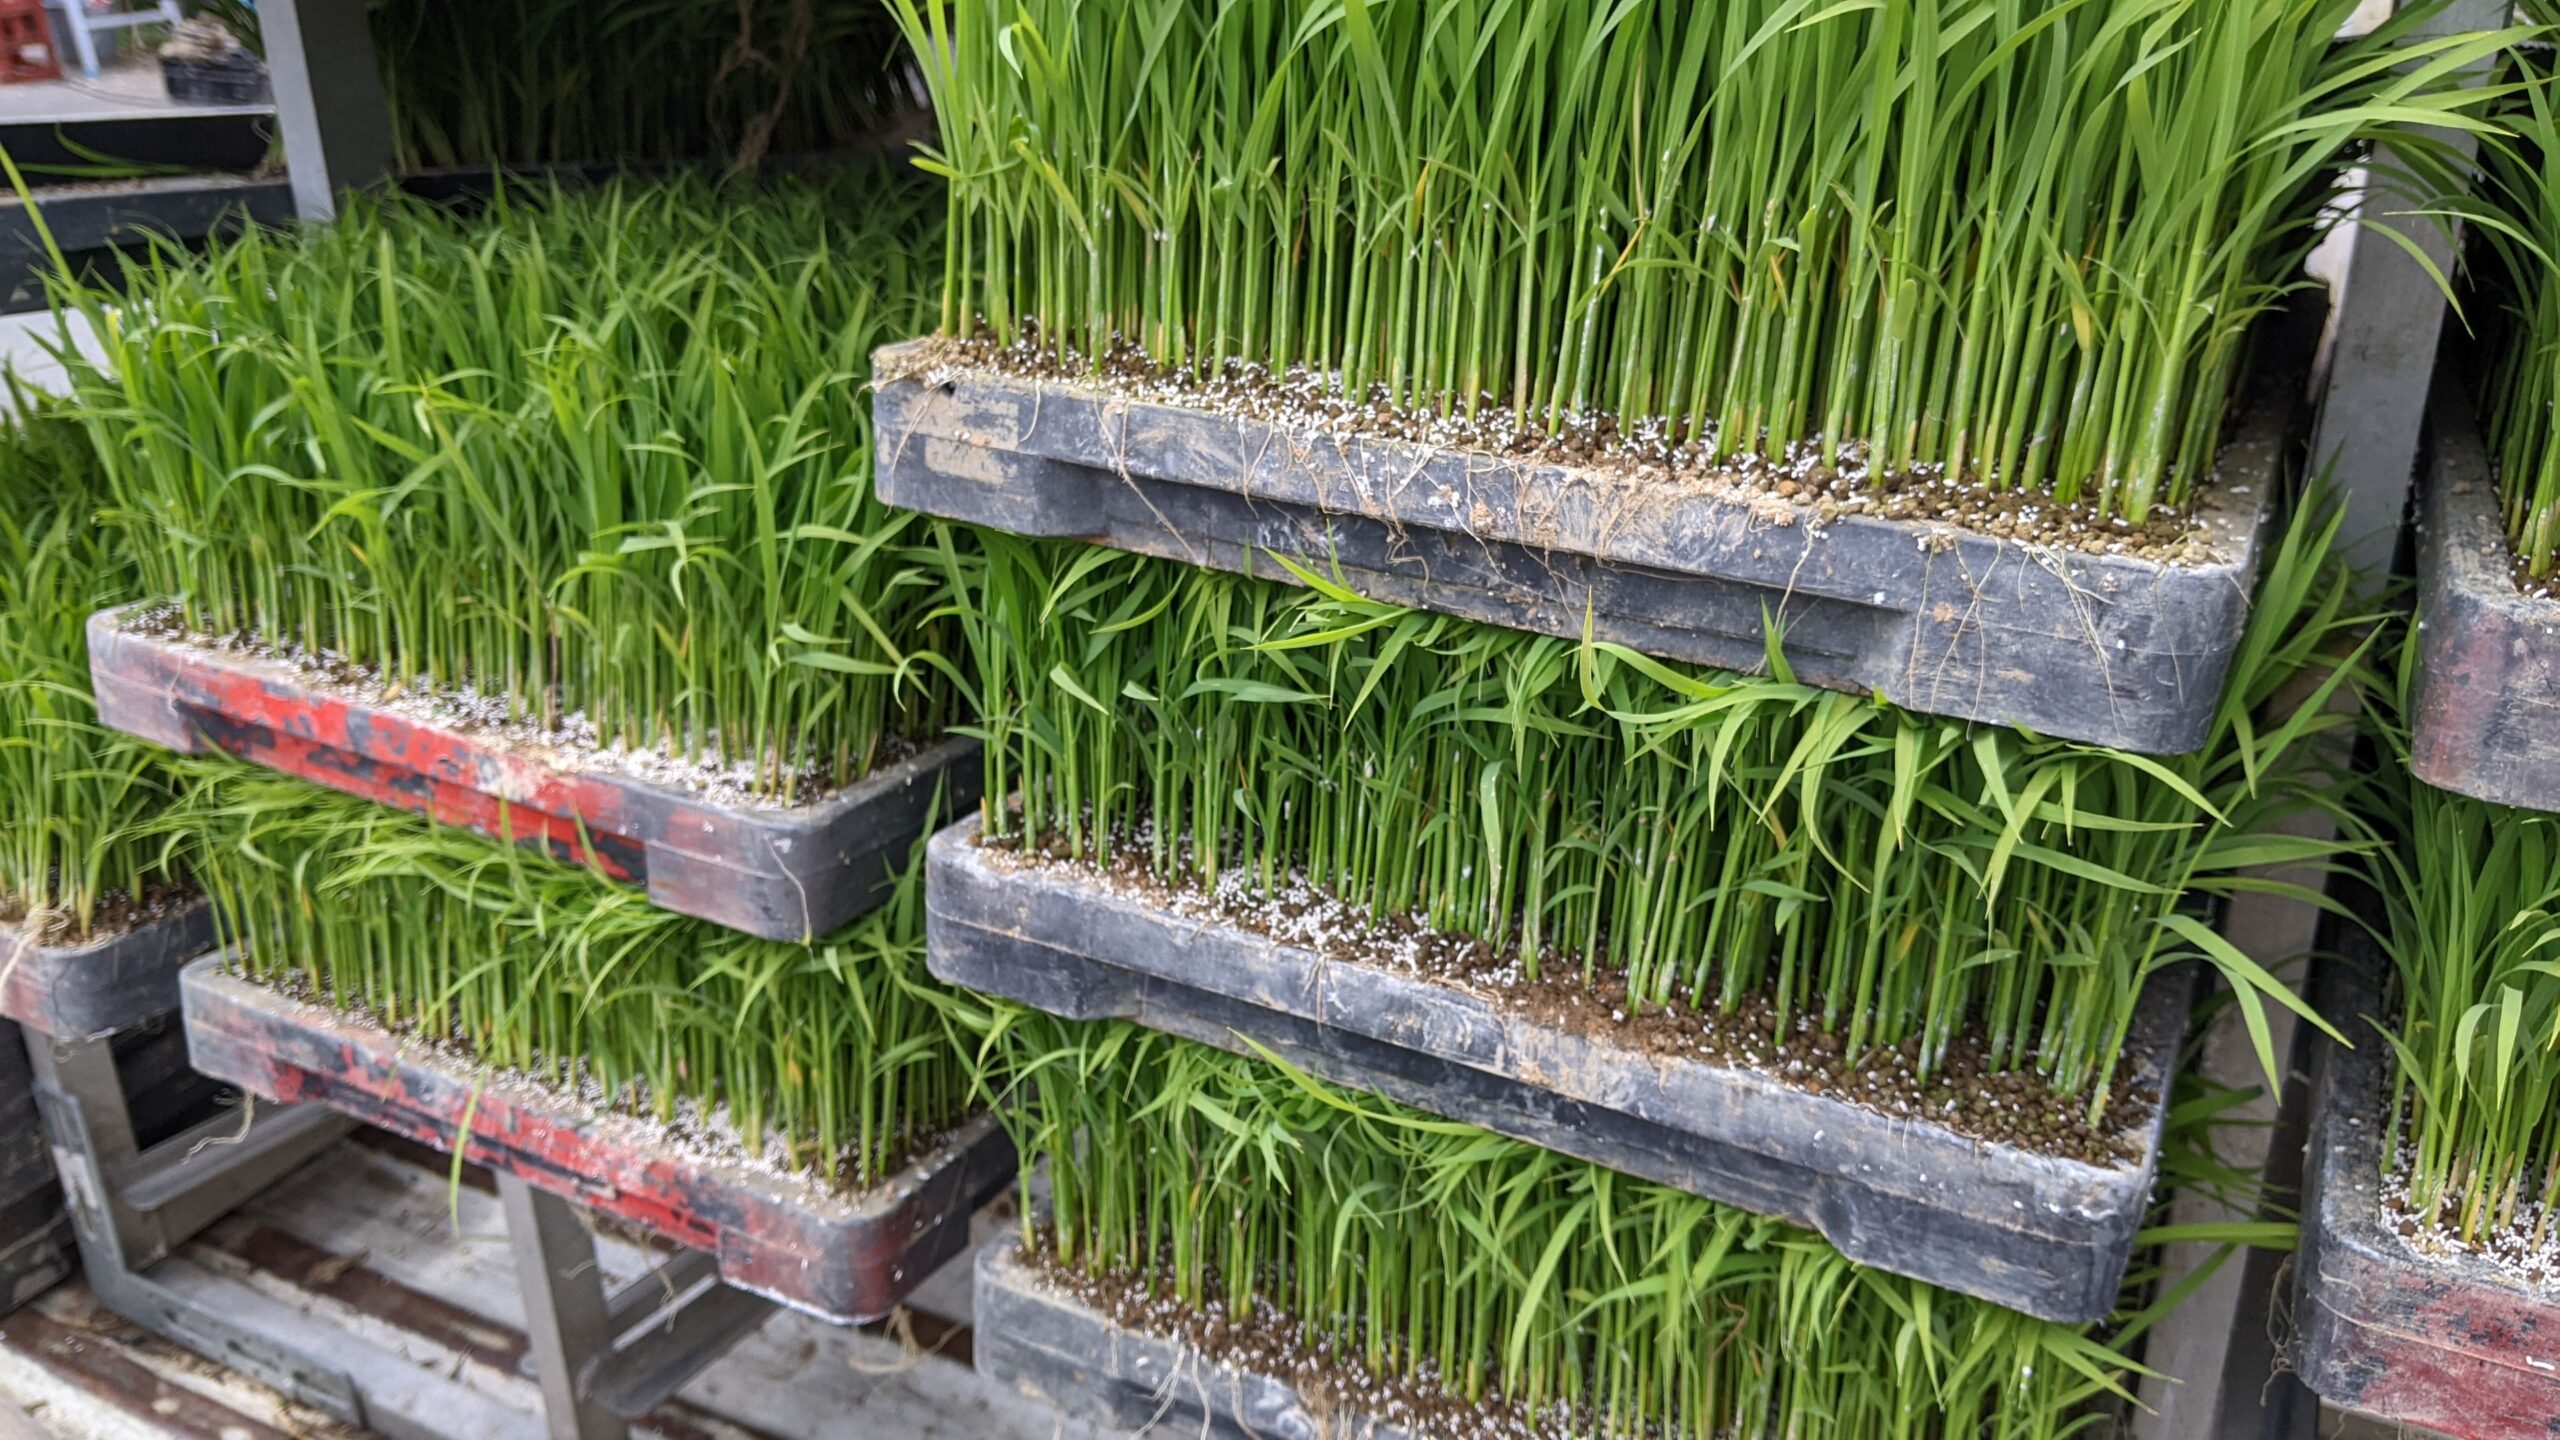
While some of these plants are already growing in my garden so I have a place to start, there are lots of other plants growing around me. Can I use them to dye or paint, instead of starting a new garden or shopping for material?

Only one way to find out. Try it and see what happens. I am experimenting, using some simple questions:
Does the plant material color the water like tea when you steep it? Good choice!
Does the color deepen with time as you steep it? Good choice!
If you evaporate it, does it get darker? Very good choice!
Is it a pretty flower? Probably not going to work, but try anyway!
Is it a berry? Not likely to yield good color, but why not try?
And there is the question of “how much material do I need to gather?” for which there is no set answer. If you are planning to dye with your color, you might try 3x the weight of the fabric, but if you are working with bark then 1/2 the weight of might be enough. If you are making ink, the amount of finished product will be smaller, so you can use less material, but in general, the more material you have, the better. More material means deeper color or more chances to experiment!


Basic color extraction
No matter what plant you’re using, you have to get the color out of it. The easiest way is to make color tea.
Color tea via steeping
- Pour hot water over your plant materials and let it steep. Cover all the material with water. The longer you steep it, the darker it gets. Just like tea.
- When you like the color, strain the color tea through a fine mesh, cloth, or paper coffee filter to remove the plant material.
- Evaporate the strained color tea by simmering it on low so the color intensifies. Aim to reduce the volume by half or more.
TIP: Some plants will release their color more easily in an alkali (base). Add soda ash or baking soda to the steeping water and see what happens. You can use less water and extract more color.
That sounds simple, but there are a lot of possible pitfalls and adjustments that you might need to make. If the water is too hot for the material, you might cook the plants, If it isn’t hot enough, you might not get much color. The only way to learn this is to try it. Even if you have a recipe, plants vary.

Color tea via simmer
Some plants need the extra heat of a simmer rather than steep to extract the color. But if they plants cook, the color disappears or turns yucky.
- Simmer for a few minutes on low to get the color you like (2-10 minutes, it will depend on the plant)
- Strain off the colored water.
- Repeat the process with the same plant materials until the plants don’t give you any more color.
- Combine all the batches and evaporate the color tea to intensify the shade.
TIP: If you put the plant material into a cloth bag (like an oversized teabag), it makes the repeated straining much easier.
Some materials need more heat or way more time. Fibrous materials like bark need to simmer in a pot for a good long time, even days. But the process is the same. Simmer, strain, evaporate.
And some materials require other methods or more complicated steps to extract color. Indigo needs to be fermented, as does persimmon tannin. For the ultimate in “how did they figure that out?!” see the notes on Safflower at the end of this article.

Mordants & Modifiers
And then…what happens if you mix the color tea with a mordant or a modifier?
Mordants are metal fixatives (alum, iron, sodium, tin) that help to make the color more fast, meaning the color will last longer. Many botanical colors are fugitive and won’t last even with mordants.
Mordants also shift your color. Iron tends to darken or dull colors; Alum generally brightens them.
Mordants are complicated and I am still figuring them out. Which one to use depends on the surface you’re coloring, the dye you’re using, what sort of color change you want, and how willing you are to do chemical experiments.
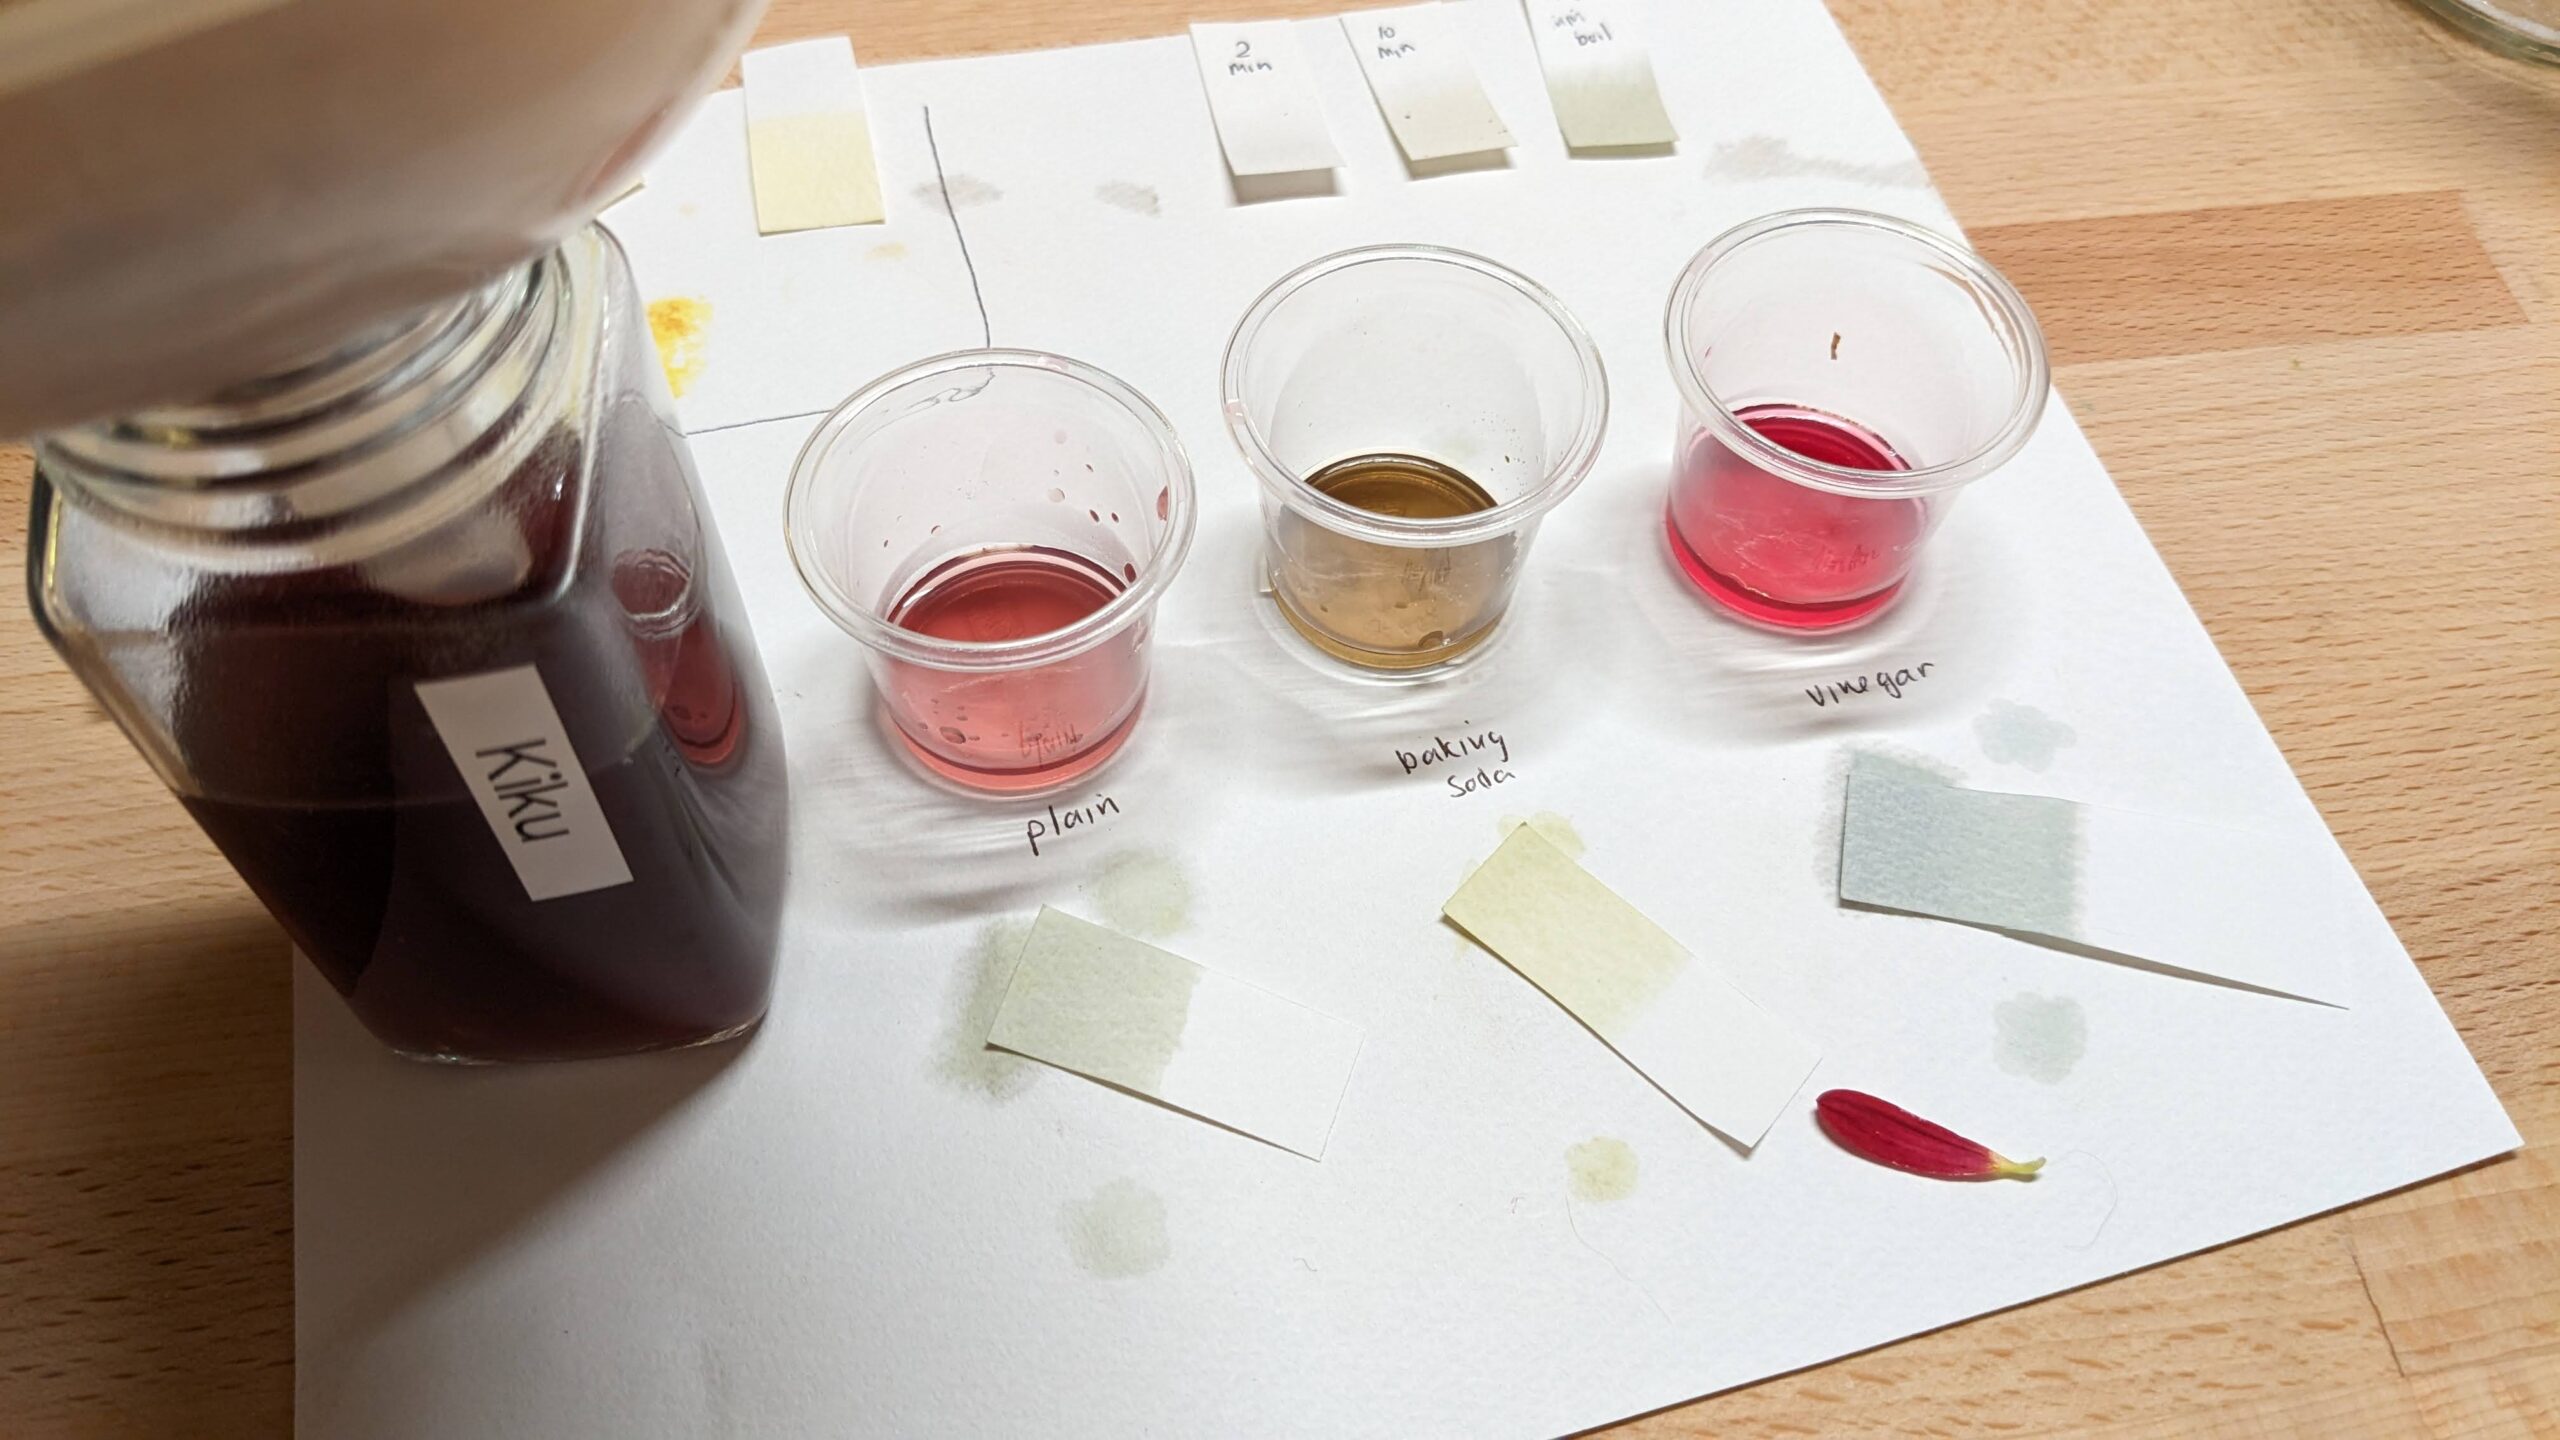
Modifiers change the color of your ink/dye/paint by changing the acidity. They can cause dramatic changes! They are simpler to work with, but they don’t make the color last longer, the way mordants do.
Base: Baking soda, soda ash
Acid: Vinegar, lemon juice
Mordants and modifiers can be applied to the surface you are working with by washing or wetting before coloring, or mixed in when you make the dye/ink, and you can get interesting artistic effects by applying the modifier or mordant over your color as you draw.
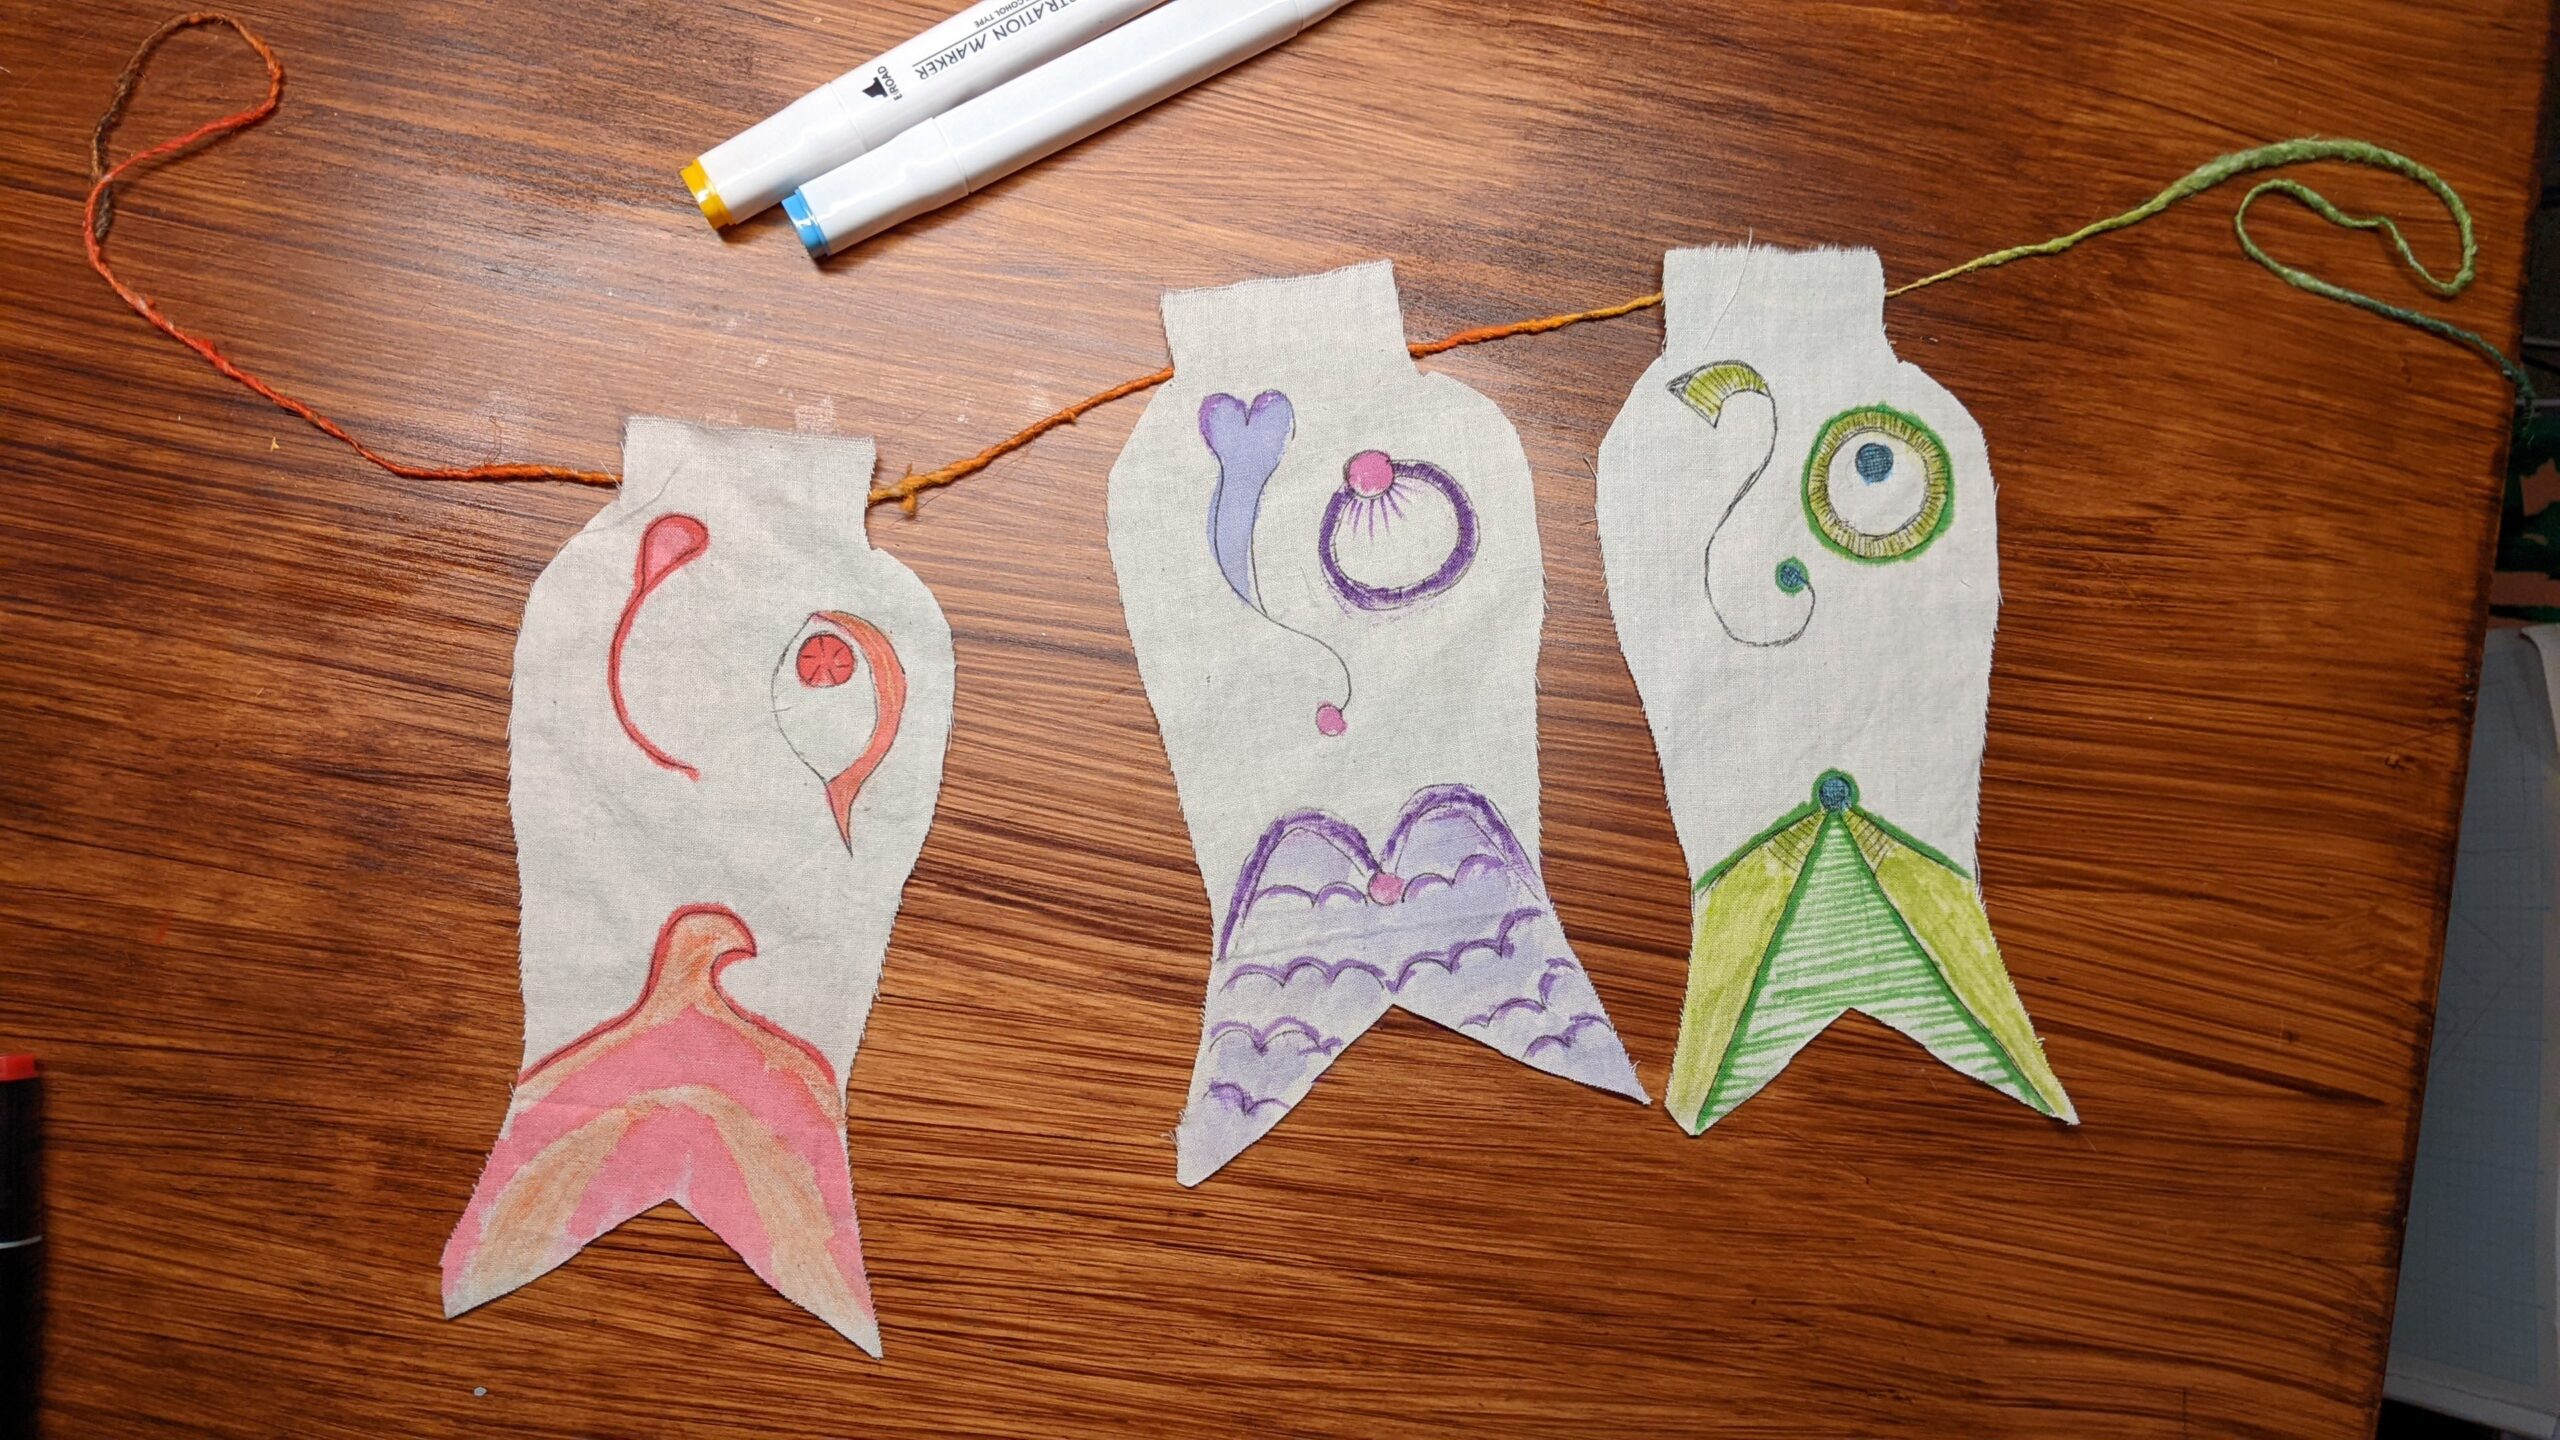
It is useful to swatch your colors and how they change with different additives. You may see some big surprises!

From tea to art supply
You can use the color tea as-is. Paint it onto paper, dye in it. It will work. But you’ll have better results if you adjust it, depending on how you want to use it.
Preservative
Color tea will turn moldy after a while. A drop or two of clove oil or tea tree oil will slow the mold growth. If/when you do get a layer of mold floating on your color, just skim it off. It is still okay to use.
Ink
You want ink to have thicker viscosity than tea and you want it to bind to the paper. Adding gum arabic will help with both of those. If you don’t have gum arabic, you can use honey or glycerin.
Paint
Paint is even more viscous than ink. Most paints have a binder in them to thicken them. Gum arabic works. Gum tragacanth is a similar natural gum but is stronger so you need less of it to get the same consistency. Gel mediums from Liquitex or other art manufacturers will work. If sourcing art supplies is hard, try mixing equal quantities of cornstarch and color tea. It won’t be archival quality paint, but it will flow onto the page.
Lake is another technique for turning color tea into paint. It done by mixing aluminum sulfate and soda ash in the color tea to create a chemical reaction that precipitates the pigment. The filtered precipitate can then be mixed with whatever medium you choose, including oils. I haven’t tried the lake pigment method yet, but I know I will enjoy the results when I do. Lake pigment colors are more vibrant than color tea.
Dye
Using color tea as dye doesn’t require any additives if you mordant your natural fiber fabric before dying (or don’t mind if it fades). Alternately, you can add mordant to the color tea dye bath directly.
Resources
This is the most basic of explanations and I learn more every time I try something. It is so much fun to combine science and art.
Here are some resources I have found helpful, especially in Japan. I have drawn on all of these to write this and I am sure I will be posting more about specific colors before too long.
- Aikuma shop in Asakusa has information in English on Japanese botanical dye stuff and techniques: https://aikuma-japan.com/
- Japanese article with simple, practical advice for natural dying: https://mikopin.net/howto-kusakizome/
- Traditional Japanese colors https://en.wikipedia.org/wiki/Traditional_colors_of_Japan
- Botanical Ink & Paint Making Online Course from https://plantsandcolour.co.uk/ is a practical course with great instructions.
*Safflower (benihana)
I lifted this straight from Wikipedia, because it is fascinating how complicated it can be to get red dye from a yellow flower. Making color tea is the first step and it’s simply discarded to get to the next step!
In Japan, dyers have mastered the technique of producing a bright red to orange-red dye (known as carthamin) from the dried florets of safflower (Carthamus tinctorius). A bath solution of cold water is first prepared, to which is added the collected flowers. Steeping in cold water releases a yellow pigment (colorant) which, after straining, is discarded. After pressing and drying once again the red petals, the petals are re-hydrated again, at which time alkali made from the burnt ash of Chenopodium album var. centrorubrum is added to release the red colorant. The batch is then kneaded with one’s hands and strained. Vinegar is then added to the solution, and the colorant is soaked up by using strips of linen. The strips of linen (now red) are then placed in a separate container and alkali obtained from the burnt ash of Chenopodium album var. centrorubrum is added once more to release the red absorbed by the linen. The solution obtained is then poured into a separate container. An extract made from plums that have been covered with soot and fumigated in a smoking pit for 24 hours, followed by a drying period of one month in the sun, is then used as a color fixing mordant.[31] The dried plums are steeped in water and mixed with the color pigment, causing the colorant to precipitate onto a piece of silk or any other desired material. The colorant at this stage has the consistency of fine, red mud. Color used as a dye can be diluted.[32] 1.5 kilograms (3.3 lb) of dried florets produces enough dye pigment to dye a small piece of fabric. The dye color is fixed in the fabric with a mordant. Darker shades are achieved by repeating the dyeing process several times, having the fabric dry, and redyed.